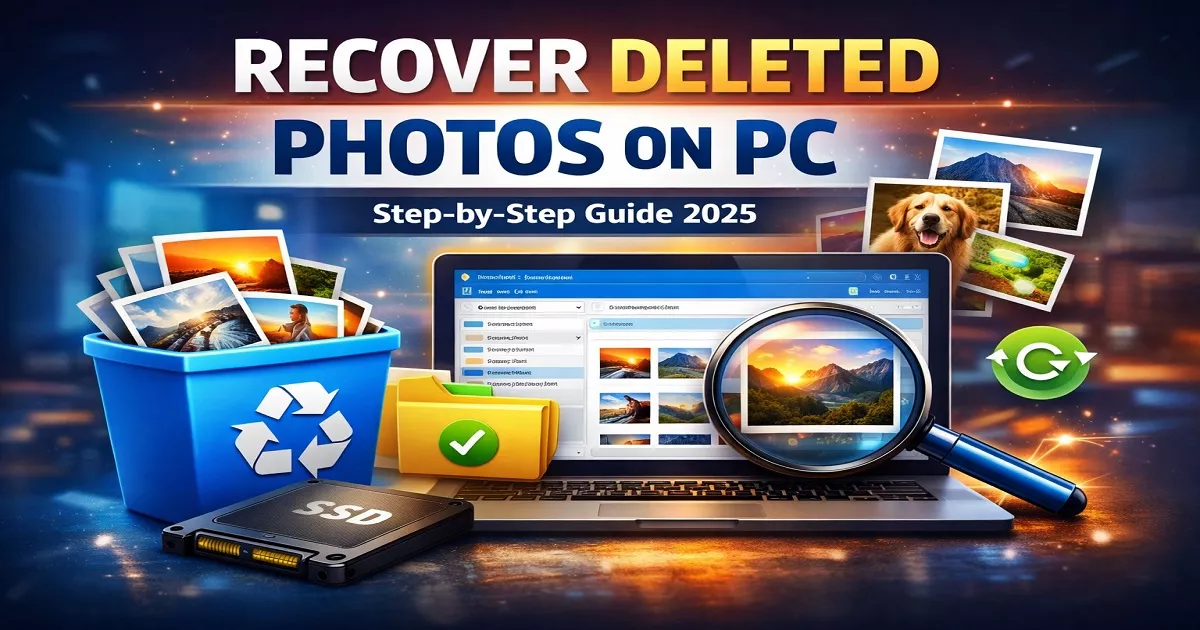
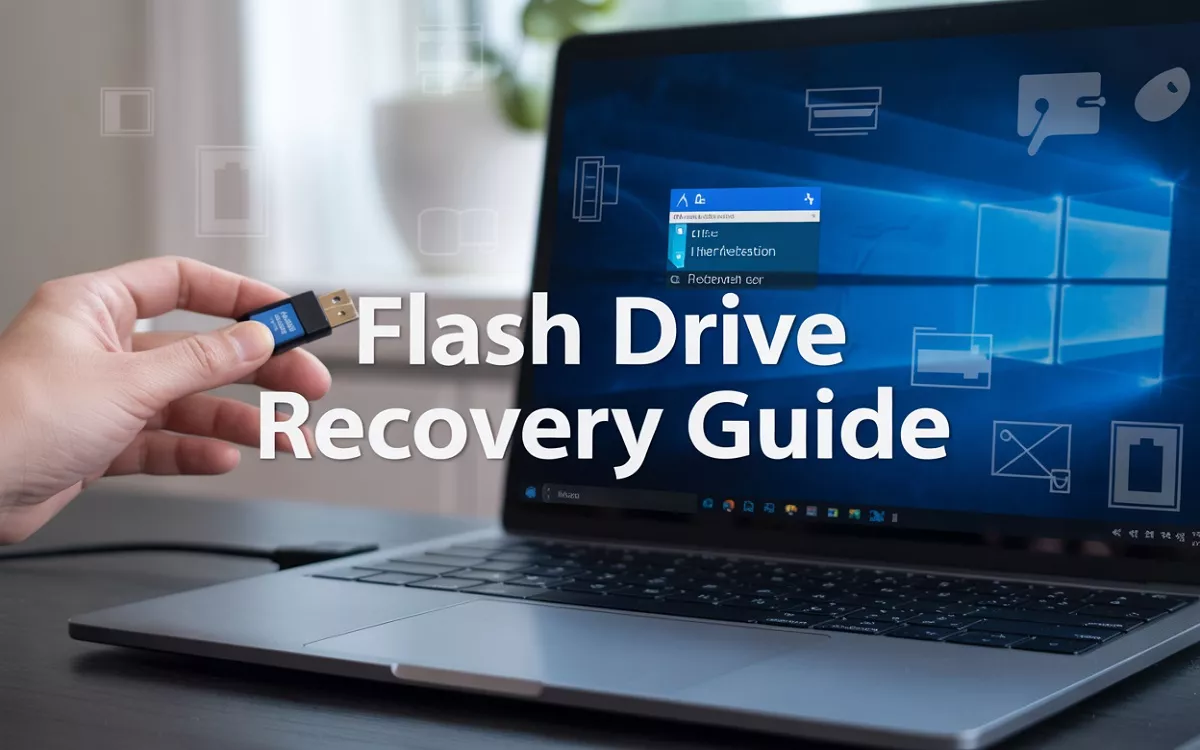
Accidentally deleted important files from your flash drive? You’re not alone. This guide shows you exactly how to recover deleted files from flash drive Windows 11, whether you’re a student who lost a thesis, a professional missing work documents, or anyone dealing with unexpected data loss.
When files disappear from your USB drive, Windows 11 offers several recovery paths before you panic. We’ll walk you through the fastest built-in recovery methods that often work within minutes, plus show you powerful data recovery software options when you need heavy-duty help. You’ll also learn command prompt techniques that can rescue files other methods miss.
How file deletion works in Windows 11 system
When you delete files from a flash drive in Windows 11, the operating system doesn’t immediately erase the actual data. Instead, it marks the file space as available for new data and removes the file’s entry from the file allocation table. The original data remains physically stored on the drive until new files overwrite those specific sectors. This process differs from deleting files on your computer’s hard drive, where files typically go to the Recycle Bin first. Flash drives bypass this safety net, making immediate recovery attempts crucial.
Why deleted files can be recovered from flash drives
Flash drive data recovery is possible because the deletion process only affects file system markers, not the underlying data clusters. When Windows 11 deletes a file, it simply changes the first character of the filename in the directory entry and marks those sectors as free space. The actual file content stays intact until the drive writes new data over those locations. Recovery software can scan these “free” sectors to locate and reconstruct deleted files by analyzing file signatures and data patterns.
Time-sensitive nature of successful file recovery
Speed matters when attempting to recover deleted files from flash drives on Windows 11. Every new file saved to the drive reduces your chances of successful recovery by potentially overwriting deleted data. Stop using the flash drive immediately after discovering file loss to prevent data corruption. The longer you wait or continue using the drive, the higher the probability that new data will permanently replace your deleted files. Professional recovery tools work best when implemented quickly, often within hours of deletion rather than days or weeks later.

Quick Recovery Methods Using Built-in Windows 11 Features
Restore files from Recycle Bin
Check your Recycle Bin first since Windows 11 might have moved deleted files there instead of permanently removing them. Open the Recycle Bin from your desktop, look for your lost flash drive files, right-click them, and select “Restore” to recover deleted files flash drive windows 11. This works when files were deleted through normal deletion processes rather than using Shift+Delete or emptying the Recycle Bin.
Use File History backup restoration
Windows 11’s File History feature automatically backs up files to external drives when enabled. Navigate to Settings > Update & Security > Backup, then click “More options” to access File History. Select “Restore files from current backup” to browse through saved versions of your flash drive data. This method works best if you previously configured File History to include your USB locations for flash drive data recovery windows 11.
Access Previous Versions through Properties menu
Right-click on your flash drive in File Explorer and select “Properties,” then click the “Previous Versions” tab. Windows 11 creates restore points and shadow copies that might contain earlier versions of your deleted files. Select an available restore point from before the deletion occurred and click “Restore” to recover lost data flash drive. This feature relies on System Restore being enabled and having restore points available.
Windows 11 Recovery Drive options
Create a Windows 11 recovery drive to access advanced recovery tools that can help restore files from USB drive. Boot from the recovery drive and select “Troubleshoot > Advanced options > Command Prompt” to run recovery commands. You can also access System Restore from this environment to roll back your system to a point before file deletion. This method proves useful when standard recovery options fail and you need deeper system-level access for windows 11 file recovery operations.
Professional Data Recovery Software Solutions
Best free recovery tools for Windows 11
Recuva stands out as the top free option for flash drive data recovery on Windows 11, offering deep scan capabilities and intuitive interface. PhotoRec excels at recovering specific file types, while Windows File Recovery provides Microsoft’s official command-line solution. TestDisk complements PhotoRec by repairing damaged partition tables and boot sectors.
Premium software options with advanced features
Professional tools like Stellar Data Recovery, R-Studio, and GetDataBack deliver superior recovery rates for complex scenarios. These premium solutions offer advanced file carving techniques, RAID support, and comprehensive preview functions. Disk Drill provides user-friendly interfaces with additional disk health monitoring features, while Active@ File Recovery specializes in severely corrupted flash drives.
Step-by-step installation and setup process
Download your chosen recovery software from the official website and install it on a different drive than your corrupted flash drive to prevent overwriting deleted data. Launch the application with administrator privileges, then select your flash drive from the device list. Configure scan settings by choosing between quick scan for recently deleted files or deep scan for older deletions.
Comparing recovery success rates across different programs
| Software | Quick Scan Success | Deep Scan Success | File Type Support | Price |
|---|---|---|---|---|
| Recuva | 85% | 70% | Most common formats | Free |
| Stellar Data Recovery | 95% | 90% | 300+ file types | $49.99 |
| R-Studio | 90% | 88% | All file systems | $79.99 |
| PhotoRec | 80% | 85% | 480+ formats | Free |
| Disk Drill | 92% | 86% | 400+ file types | $89 |
Recovery success depends heavily on how quickly you act after deletion and whether new data has overwritten the deleted files on your flash drive.

Manual Recovery Techniques Through Command Prompt
Using CHKDSK Command for File System Repair
CHKDSK scans your flash drive for errors and repairs corrupted file systems that might be hiding your deleted files. Open Command Prompt as administrator and type chkdsk X: /f /r (replace X with your drive letter). The /f flag fixes errors while /r recovers readable information from bad sectors. This command often restores files that appear deleted but are actually corrupted or inaccessible due to file system damage.
Employing ATTRIB Command to Unhide Files
Sometimes files aren’t actually deleted but hidden by malware or system errors. The ATTRIB command reveals these hidden files on your flash drive. Navigate to your drive in Command Prompt and execute attrib -h -r -s /s /d *.*. This removes hidden, read-only, and system attributes from all files and folders. Many users discover their “lost” files were simply marked as hidden, making this one of the most effective file recovery command prompt windows 11 techniques.
Running SFC Scan for System File Recovery
While primarily designed for system files, SFC (System File Checker) can help when your flash drive contains Windows-related files or when system corruption affects USB recognition. Run sfc /scannow in an elevated Command Prompt to repair corrupted system files that might interfere with proper flash drive detection. Though less common for typical USB flash drive recovery methods, this command becomes valuable when dealing with drives containing system backups or when Windows fails to properly mount your flash drive.
Advanced Recovery Methods for Severely Damaged Flash Drives![]()
Professional Data Recovery Services Evaluation
When your flash drive suffers physical damage or severe corruption, professional data recovery services become your best option. These specialized companies possess clean rooms, advanced equipment, and expertise to handle complex recovery scenarios that standard software cannot address. Leading services like DriveSavers, Ontrack, and Secure Data Recovery maintain success rates above 90% for flash drive recoveries. Professional services excel at recovering data from drives with controller failures, NAND flash corruption, or electrical damage. They provide detailed diagnostics, transparent pricing, and data integrity guarantees that DIY methods cannot match.
Hardware-Level Recovery Techniques
Hardware-level recovery involves direct manipulation of flash drive components to extract data when conventional methods fail. Technicians remove NAND flash chips from damaged controllers and read data using specialized equipment like chip-off readers and JTAG interfaces. This process requires sophisticated tools including hot air rework stations, microscopes, and programmable readers that cost thousands of dollars. Recovery specialists can bypass damaged USB controllers, reconstruct firmware, and perform bit-level data extraction from individual memory cells. These techniques work even when the flash drive appears completely dead to Windows 11 systems.
Cost-Benefit Analysis of Professional vs DIY Recovery
Professional flash drive data recovery typically costs $300-$1,500 depending on drive capacity and damage severity, while DIY recovery software ranges from free to $100. Professional services offer guaranteed results, faster turnaround times, and protection against further data loss during recovery attempts. DIY methods work well for logical corruption but risk permanent data loss when dealing with physical damage. Consider professional recovery when dealing with irreplaceable files worth more than the service cost, business-critical data, or drives with obvious physical damage. Small personal files or easily replaceable data may not justify professional recovery expenses.
When to Abandon Recovery Attempts
Recognize when recovery efforts become counterproductive to avoid wasting time and money on hopeless cases. Abandon recovery attempts when multiple professional services provide negative assessments, when recovery costs exceed data value by significant margins, or when the flash drive shows signs of severe physical trauma like fire or water damage. Stop DIY attempts immediately if you hear unusual sounds, smell burning odors, or notice visible component damage. Extended recovery efforts on severely damaged drives often result in complete data destruction. Sometimes accepting data loss and implementing better backup strategies proves more cost-effective than pursuing expensive recovery options with minimal success probability.
Preventing Future Data Loss from Flash Drives
Implementing regular backup strategies
Create automatic backups of your flash drive data using Windows 11’s built-in File History or third-party solutions like Google Drive, OneDrive, or Dropbox. Set up scheduled backups weekly or after significant file additions. Use the 3-2-1 backup rule: maintain three copies of important data, store two locally on different devices, and keep one copy in cloud storage. This approach prevents complete data loss if your flash drive fails unexpectedly.
Safe removal practices for flash drives
Always use the “Safely Remove Hardware” option in Windows 11’s system tray before disconnecting your USB drive. This ensures all write operations complete and prevents file corruption. Avoid yanking the drive out during data transfers or when the LED indicator shows activity. Wait for transfer completion notifications and close all programs accessing the drive. These simple habits protect your data integrity and extend your flash drive’s lifespan significantly.
File system maintenance and health monitoring
Regularly check your flash drive’s health using Windows 11’s built-in tools like chkdsk command or third-party utilities such as CrystalDiskInfo. Run disk error checks monthly to identify and fix file system corruption before it causes data loss. Format your drive periodically using the proper file system (NTFS for larger files, FAT32 for compatibility) to maintain optimal performance. Monitor available storage space and avoid filling drives beyond 80% capacity to prevent performance degradation and potential data corruption.
Conclusion
Getting your deleted files back from a flash drive doesn’t have to be a nightmare. Windows 11 gives you several ways to tackle this problem, from simple built-in tools like File History and the Recycle Bin to more powerful command prompt techniques. When those don’t work, professional recovery software can often save the day, and even severely damaged drives have hope through advanced recovery methods.
The best approach is always prevention. Regular backups, safely ejecting your flash drive, and keeping it away from extreme temperatures will save you hours of stress down the road. If you do find yourself facing data loss, act quickly and stop using the drive right away to give yourself the best shot at recovery. Start with the easiest methods first, then work your way up to the more complex solutions if needed.