Your Intel Bluetooth driver Windows 10 isn’t working, and you need a straightforward fix. This guide is for Windows 10 users dealing with Intel wireless Bluetooth connectivity problems, missing drivers, or outdated software that’s preventing their devices from pairing properly.
We’ll walk you through how to install Intel wireless Bluetooth driver on your system, starting with checking your current setup and downloading the right driver version. You’ll also learn how to safely remove old drivers that might be causing conflicts and complete a clean installation that actually works. Finally, we’ll cover the most common installation headaches and how to fix them quickly.
Verify Windows 10 compatibility with Intel wireless Bluetooth
Windows 10 supports Intel wireless Bluetooth drivers across most versions, but compatibility varies by Intel chipset generation. Check your Windows 10 build number by pressing Windows + R, typing “winver,” and ensuring you’re running at least version 1903 for optimal Intel Bluetooth driver support.
Identify your Intel Bluetooth adapter model
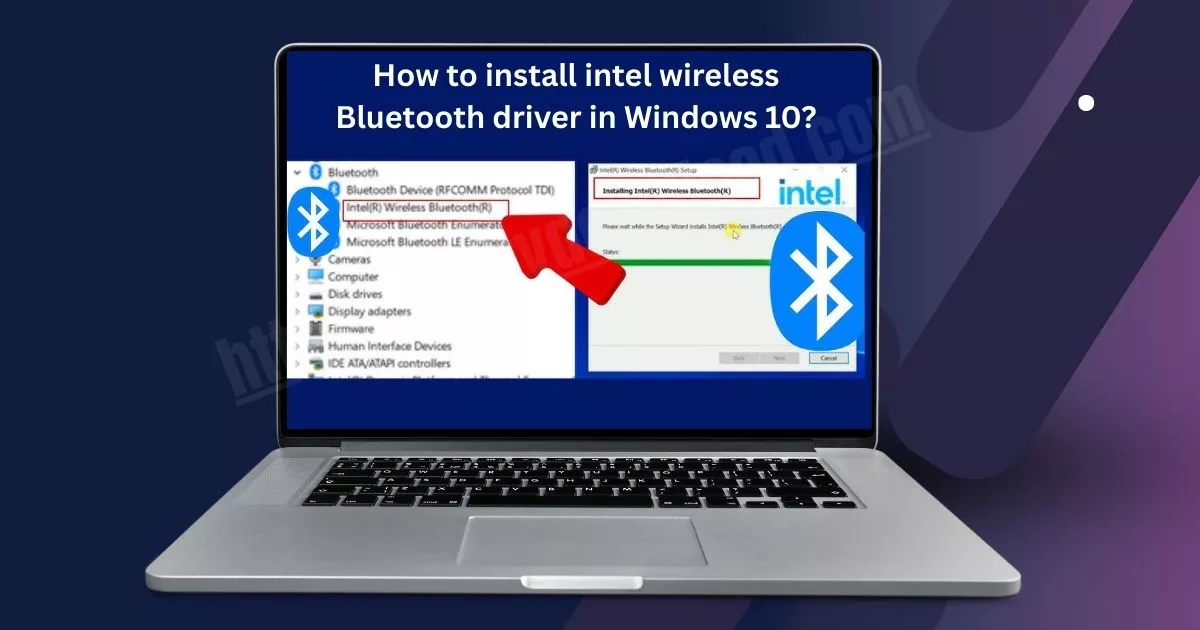
Open Device Manager by right-clicking the Start button and selecting it from the menu. Expand the “Bluetooth” section to view your current adapter. Look for entries containing “Intel” in the name, such as “Intel Wireless Bluetooth” or “Intel AX200.” Note the exact model number, as downloading the wrong Intel Bluetooth driver Windows 10 version can cause installation failures.
Check if existing drivers need updating
Right-click your Intel Bluetooth adapter in Device Manager and select “Properties.” Navigate to the “Driver” tab to view the current driver version and date. Compare this information with Intel’s official website to determine if an Intel wireless Bluetooth driver update is available. Outdated drivers often cause connectivity issues and performance problems.
Ensure administrator privileges for installation
Installing Intel Bluetooth drivers requires administrator access to modify system files. Right-click your user account in Settings > Accounts to verify administrator status. If you’re using a standard account, contact your system administrator or switch to an admin account before proceeding with the Intel wireless driver installation guide steps.
Download the Correct Intel Bluetooth Driver
Access Intel’s official driver download center
Navigate to Intel’s Download Center at downloadcenter.intel.com to ensure you’re getting authentic drivers. Search for “Bluetooth” or “Wireless” in the product search bar. Intel’s official site provides the most reliable Intel Bluetooth driver Windows 10 downloads, protecting your system from potentially harmful third-party sources that might contain malware or outdated drivers.
Select the appropriate driver version for your hardware
Identify your specific Intel Bluetooth adapter model through Device Manager before downloading. Match your hardware’s exact model number with the available driver versions on Intel’s site. Different Intel wireless Bluetooth adapters require specific drivers – downloading the wrong version can cause compatibility issues or installation failures during your Intel wireless Bluetooth driver update process.
Verify driver compatibility with your Windows 10 build
Check your Windows 10 version by typing “winver” in the Start menu to confirm compatibility with the selected driver. Intel provides detailed compatibility charts showing which driver versions work with specific Windows 10 builds. Download Intel Bluetooth driver Windows 10 packages only after confirming your system meets all requirements, including architecture (32-bit or 64-bit) and any prerequisite software components needed for proper installation.
Uninstall Existing Bluetooth Drivers Safely
Remove current drivers through Device Manager
Open Device Manager by right-clicking the Start button and selecting it from the menu. Navigate to “Bluetooth” or “Network adapters” section and locate your Intel wireless Bluetooth driver. Right-click the driver entry and select “Uninstall device.” Check the box that says “Delete the driver software for this device” to remove all associated files completely.
Clean residual driver files using built-in tools
After uninstalling through Device Manager, run Windows built-in cleanup tools to remove leftover files. Open Command Prompt as administrator and run “sfc /scannow” followed by “dism /online /cleanup-image /restorehealth” to clean system files. You can also use Disk Cleanup utility to remove temporary driver files that might interfere with fresh Intel Bluetooth driver installation.
Restart system to complete driver removal
Restart your computer to finalize the driver removal process. Windows will automatically clear any remaining driver references from memory and registry during the reboot sequence. This clean slate ensures your system is ready for the new Intel wireless Bluetooth driver installation without conflicts from previous driver versions.
Install Intel Wireless Bluetooth Driver Step-by-Step

A. Run the downloaded driver installation file
Locate your downloaded Intel Bluetooth driver file and double-click it to start the installation process. Most Intel wireless Bluetooth driver files come as executable (.exe) files that launch automatically when opened. If Windows prompts for administrator permissions, click “Yes” to allow the Intel Bluetooth driver Windows 10 installation to proceed.
B. Follow the installation wizard prompts
The Intel wireless driver installation guide will display a welcome screen with setup options. Click “Next” to accept the license agreement and choose your installation preferences. The wizard typically offers express or custom installation modes – select express for standard setups or custom if you need specific configuration options for your Intel Bluetooth driver download.
C. Configure driver settings during setup
During the Windows 10 Bluetooth driver installation, you can adjust power management settings and connection preferences. Enable features like fast startup and automatic device pairing if needed. Most users should keep default settings unless specific hardware requirements demand changes for optimal Intel wireless Bluetooth driver performance.
D. Complete system restart after installation
Once the install Bluetooth driver Windows 10 process finishes, restart your computer immediately. This ensures all driver components load properly and the system recognizes your new Intel Bluetooth hardware. Skip the restart only if the installation wizard specifically indicates it’s optional.
E. Verify successful driver installation
Open Device Manager and expand the Bluetooth section to confirm your Intel wireless Bluetooth adapter appears without warning symbols. Check that the driver version matches your download and test connectivity by pairing a Bluetooth device. Successful installation means your Intel Bluetooth driver troubleshooting efforts have resolved any previous connectivity issues.
Troubleshoot Common Installation Issues
Resolve driver compatibility conflicts
Driver conflicts often happen when Windows 10 automatically installs generic Bluetooth drivers that clash with Intel’s specific wireless Bluetooth driver. Open Device Manager, locate any conflicting Bluetooth devices showing yellow warning signs, and completely remove them before attempting the Intel driver installation. Disable Windows automatic driver updates temporarily through Group Policy Editor or Registry settings to prevent the system from overriding your manual Intel Bluetooth driver installation.
Fix installation failure error messages
Installation errors typically occur due to insufficient administrator privileges or corrupted download files. Run the Intel Bluetooth driver installer as administrator by right-clicking and selecting “Run as administrator.” If you encounter “driver package not found” errors, verify the downloaded file integrity by re-downloading from Intel’s official support website. Some users need to restart their computer in Safe Mode to successfully complete the Intel wireless Bluetooth driver installation process.
Address Bluetooth connectivity problems after installation
Post-installation connectivity issues usually stem from incomplete driver initialization or power management settings. Navigate to Device Manager, find your Intel Bluetooth adapter, access Properties, and disable “Allow the computer to turn off this device” under Power Management. Reset the Bluetooth stack by removing all paired devices, restarting the Bluetooth Support Service through Services.msc, and re-pairing your devices. Check Windows 10 privacy settings to ensure Bluetooth access isn’t blocked for applications requiring wireless connectivity.
watch a video for bluetooth installation
Conclusion
Getting your Intel wireless Bluetooth driver properly installed on Windows 10 doesn’t have to be a headache. By checking your current setup first, downloading the right driver from Intel’s official site, and carefully removing old drivers before installing the new ones, you’ll save yourself from most common problems. The step-by-step installation process is pretty straightforward once you know what to do, and most issues can be fixed by restarting your computer or running Windows’ built-in troubleshooter.
If you’re still having trouble after following these steps, don’t give up. Double-check that you downloaded the correct driver version for your specific Intel Bluetooth adapter, and make sure Windows Update isn’t interfering with your installation. Your Bluetooth devices will thank you once everything’s working smoothly again, and you’ll have the satisfaction of fixing it yourself instead of calling tech support.