Having a dependable WiFi connection at home is about as necessary in today’s digital world as having running water or electricity. Everything depends on a steady internet connection, whether you want to work from home, stream your favorite shows, take online courses, or just browse social media.
Don’t worry if you’re setting up WiFi for the first time or have recently moved into a new home; it’s not as difficult as it seems. There are a few easy steps to set up WiFi at home, and once you know the fundamentals, it becomes second nature.
Let’s go over everything you need to know about installing WiFi in your house, from selecting the appropriate hardware to safely connecting your gadgets.
Step 1: Choose Your Internet Service Provider (ISP)
Prior to having WiFi, you must have internet connectivity. A provider of Internet services (ISPs) can help with that. These businesses provide internet connectivity to your house via satellite, fiber optics, or wires.
Tips for selecting the best ISP
- Verify coverage: Not every supplier offers service in every location. To begin, check out which ISPs serve your residential area.
- Compare the plans: Examine costs, data caps, and speed. Choose faster plans if you stream movies or have a large user base.
- Customer service: You can save annoyance later on with good technical support.
- Reliability: Check internet evaluations or speak with neighbors regarding reliable uptime and speed.
Following your enrollment, the provider will send you a modem (or occasionally a modem-router combo) and, if required, arrange for installation.
Step 2: Get the Right Equipment
A few essential pieces of equipment are required to set up WiFi:
- Modern
Your home and your ISP are connected by the modem. It converts internet signals from the network of your provider into data that is usable by the gadgets in your home. - The router
Your modem sends internet traffic to the router, which then wirelessly distributes it throughout your house. The WiFi network that your devices connect to is created by this.
(Some systems, commonly referred to as gateways, combine a modem and router into a single box.) - A cable for Ethernet
This is what you’ll use to link your router and modem. - Cables for Power
Verify that the power adapters for the router and modem are operational.
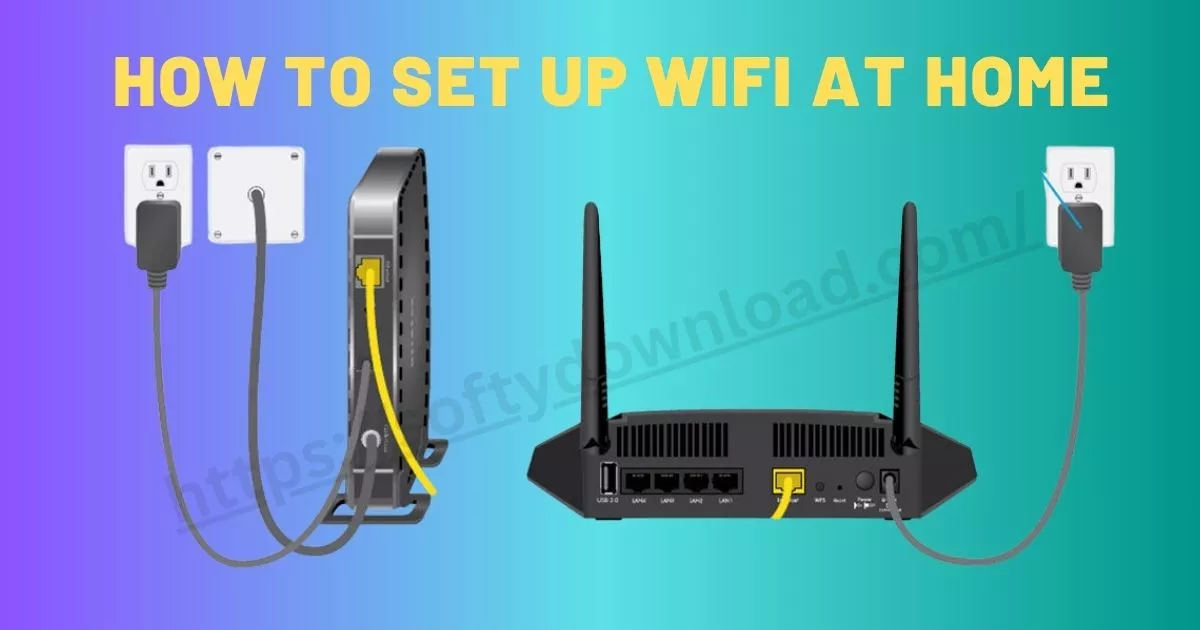
Step 3: Connect Your Modem
- Depending on your ISP, locate a suitable location next to a power outlet and a coaxial or DSL wall socket.
- Connect the coaxial or DSL cable to your modem on one end and the wall on the other.
- Turn on the modem by plugging in the power adapter.
- A constant light typically indicates that your modem is online, so wait for it to stabilize.
(If your ISP needs to activate your connection, go to their website or give them a call.)
Step 4: Connect Your Router
The router, the central component of your WiFi network, needs to be configured now.
- Connect the Ethernet cable to your modem at one end.
- Connect the other end to your router’s WAN or Internet port.
- Turn on your router by plugging it in.
- Watch for the indicator lights to flash and stabilize when it boots up.
Even though your router could have the default network name (SSID) and password printed on the back or bottom, it should now begin to transmit a WiFi signal.
Step 5: Access the Router’s Settings
1. Use WiFi or an Ethernet connection to connect your computer or phone to the router.
2. Launch a web browser and enter 192.168.0.1 or 192.168.1.1 in the address bar.
3. Type the login and password for your router, which are often “admin” for both.
4. Navigate to the Wireless Settings area after logging in.
5. To secure your network, modify your WiFi name (SSID) and choose a strong password.
Step 6: Set Up Your WiFi Name and Password
Now for the exciting part: giving your WiFi a name!
You’ll be able to modify your WiFi password and network name (SSID).
Setting up advice:
- Select a name that is simple to remember yet conceals private information, such as “SmithFamilyWiFi” or “MyInternetHQ.”
- Create a strong password with a minimum of eight characters that combines symbols, numbers, and letters.
- If prompted, save the modifications and restart your router.
Now your WiFi network is safe and operational!
Step 7: Connect Your Devices
Take out your tablet, laptop, smartphone, or smart TV.
- Go to your device’s WiFi settings.
- Check for your SSID, or network name.
- Put in the password you made.
- To check if the internet is functioning, launch a browser after connecting.
Congratulations! Your WiFi setup is complete if it loads without any issues.
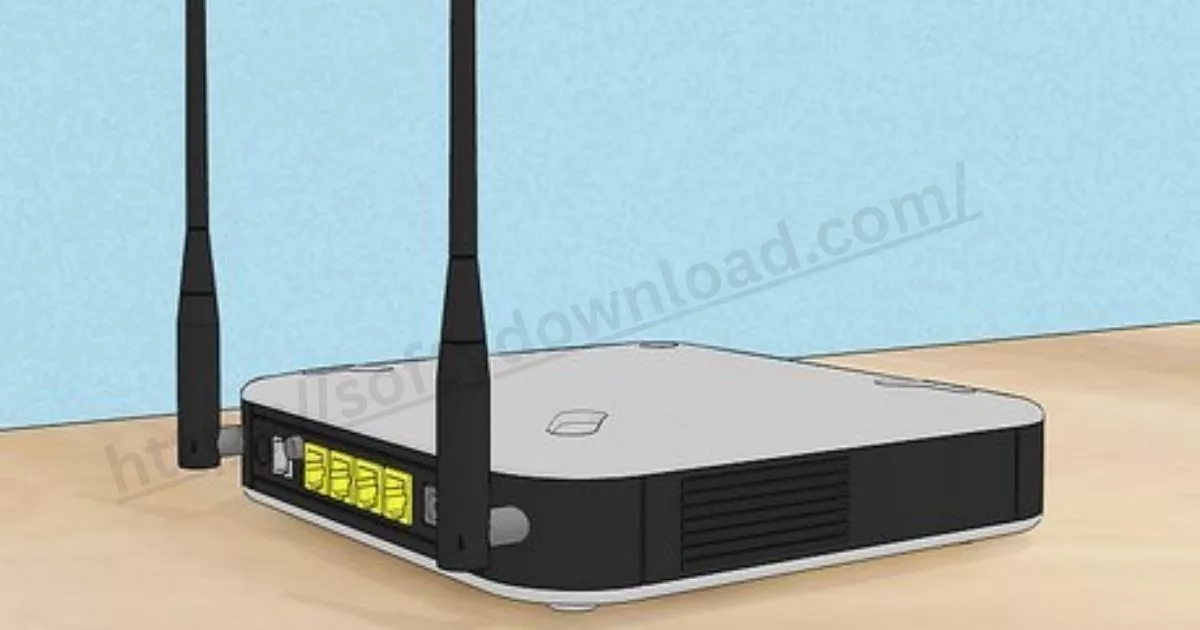
Step 8: Find the Best Spot for Your Router
Positioning is important!
Your signal strength may decrease if your router is concealed behind high walls or in a corner.
Advice on how to improve WiFi coverage:
- Put your router in the middle of the room.
- Don’t place it on the floor; instead, place it on a table or shelf.
- Keep it away from microwaves and metal items as they can disrupt transmissions.
- Consider installing mesh routers or WiFi extenders in larger households.
Step 9: Test and Optimize Your WiFi
You should check the speed and range of your WiFi after setting it up.
You can use free resources such as:
- Use Fast.com or Speedtest.net to verify upload and download speeds.
- Apps that analyze WiFi (to identify weak places)
Consider relocating the router a little or getting a more powerful model if the signal is poor in some rooms.
Step 10: Keep Your Network Secure and Updated
Security is essential for preventing unauthorized people from accessing your network.
The best methods:
- Modify the administrator password for your router, not only the WiFi password.
- To address issues and enhance performance, firmware should be updated often.
- Unless absolutely required, turn off remote management.
- You can improve security by using WPA2 or WPA3 encryption.
You can keep your connection dependable and speedy while protecting your data by taking these easy measures.
Troubleshooting Common WiFi Issues
Connectivity problems may arise even with the optimal configuration. Here’s a patch for them:
- WiFi takes a long time.
- Give your modem and router a restart.
- Cut off any gadgets that are not in use.
- Find out whether anyone is downloading big files.
- Should the need arise, switch to a faster plan.
- Unable to connect to the WiFi
- You should restart your router.
- Reconnect your device after forgetting the network.
- Check your password again.
- The WiFi keeps dropping.
- Relocate your router to a more advantageous spot.
- Verify whether there are firmware upgrades.
- Steer clear of microwave and cordless phone interference.
- Absence of internet connectivity
- Look at the lights on your modem.
- Check to see if there is an outage affecting your ISP.
- Resetting your router and modem might help.
Why Having WiFi at Home Is Essential
In the past, WiFi was a luxury — today, it’s a necessity. From online learning to remote work, everything depends on connectivity.
Here’s why it matters:
- Convenience: No messy cables; move freely around the house.
- Multiple devices: Connect phones, TVs, cameras, and even smart appliances.
- Productivity: Work or study from anywhere at home.
- Entertainment: Stream movies, play games, or video chat without interruptions.
Pro Tips for a Stronger Home WiFi
- Update your router every 3–4 years for better technology.
- Use dual-band routers (2.4GHz for range, 5GHz for speed).
- Consider mesh WiFi systems for large homes.
- Schedule router reboots once a week.
- Label your WiFi network clearly to avoid confusion.
Frequently Asked Questions (FAQs)
- How much time does it take to install WiFi in a house?
Depending on your comfort level and the equipment you use, the entire operation typically takes between thirty and an hour. - Does installing WiFi require a technician?
The majority of individuals can set it up on their own by following easy instructions. Your provider might send a technician, though, if they need specific wiring or installation. - Can I switch ISPs and still use my existing router?
Yes, occasionally, but compatibility determines this. Before using your old router again, check with your ISP. - What distinguishes 2.4GHz WiFi from 5GHz WiFi?
- 2.4GHz: Slower speed, wider coverage.
- 5GHz: Shorter range, faster speed.
Both are provided by dual-band routers for optimal performance.
- How can my WiFi signal be strengthened?
Put your router in the middle of the room, minimize interference, and think about installing a mesh system or WiFi extension. - Can I share my WiFi password without risk?
Share only with friends or family you can trust. Don’t let strangers access, and change your password frequently. - How should I respond if my WiFi abruptly cuts off?
Restart both your modem and router. For help, get in touch with your ISP if the problem continues.
Conclusion
At first, setting up WiFi at home may seem complicated, but it’s actually very simple once you know how to do it. A dependable internet service, the appropriate hardware, and a little perseverance are all you need.
Your house becomes a fully connected area when your WiFi is configured correctly, making it ideal for working, gaming, streaming, and keeping in contact with the outside world.
Keep in mind that having a robust and secure WiFi network improves the speed, ease, and safety of your digital life in addition to providing convenience.
Now enjoy your new home WiFi connection by plugging it in and turning it on!